Stop leaving your fancy camera at home
The 5-part photo workflow that rekindled my love for photography
Have you ever spent a fortune on a hobby only to find yourself not actually wanting to use the equipment?
I’ve experienced this across a number of hobbies over the years but nowhere more than photography.
My fantastically capable camera and best-in-class photo editing software would go unused for entire seasons at a time, despite massive investments in money, research, and time to learn how to use them.
Suffocated by process
I was initially drawn to photography by the desire to document and share moments from a life well-lived.
If those moments never made it to others and instead languished on my hard drive, then, in essence, I was letting myself down and giving up on my dreams.
As any wedding photographer will tell you, taking photos is only a small part of producing memorable pictures. The bulk of the work lies in sorting through those photos, editing them, and filing them away, so that you can find them later.
A few hundred photos captured during an afternoon of vigorous shooting could easily result in 20+ hours of processing work, spread over several weekends.
This photo processing burden left me sitting on thousands of untouched photos that no one (other than myself) ever got to see. Even worse, I’d end up just leaving my camera at home to avoid the guilt of leaving those photos untouched.
An overly complex post-shooting workflow had my dream of sharing abundant memories with loved ones in a choke hold.
Rethinking the process
After moving to Birmingham a year ago to be closer to family, I realized that I had a new chapter of life to document. This fresh start gave me the motivation to finally address my photography blockage.
The first step in rethinking my post-shooting workflow was to lay out some guiding principles:
Lightweight - The experience of processing photos needed to feel lightweight and easy at all times. Each step had to be bite-sized and involve minimal decision making. Several small steps are better than a few huge lifts.
Interruptible - The work needed to be easy to pick up and put down. Devoting entire evenings or afternoons to getting one step done, as I had learned to do from numerous YouTube videos, wasn’t going to work.
I needed to be able to chip away at my photos in chunks of 30 minutes or less to keep things moving.
Enjoyable - Working with my photos needed to feel fun and rewarding. If it felt like a slog, I’d lose momentum and start procrastinating. Ensuring that a hit of dopamine was never too far away was critical.
For all of you with expensive cameras gathering dust, here’s the workflow I’ve arrived at.
My new photo workflow
Step 1: Import photos
After each day of shooting I import my photos into Lightroom, my photo processing software. Depending on the quantity of photos taken, this can take up to 10 minutes.
Step 2: Cull
I review each photo taken and rate it one star if it’s unusable in any way, usually due to being out of focus. Everything else gets two stars.
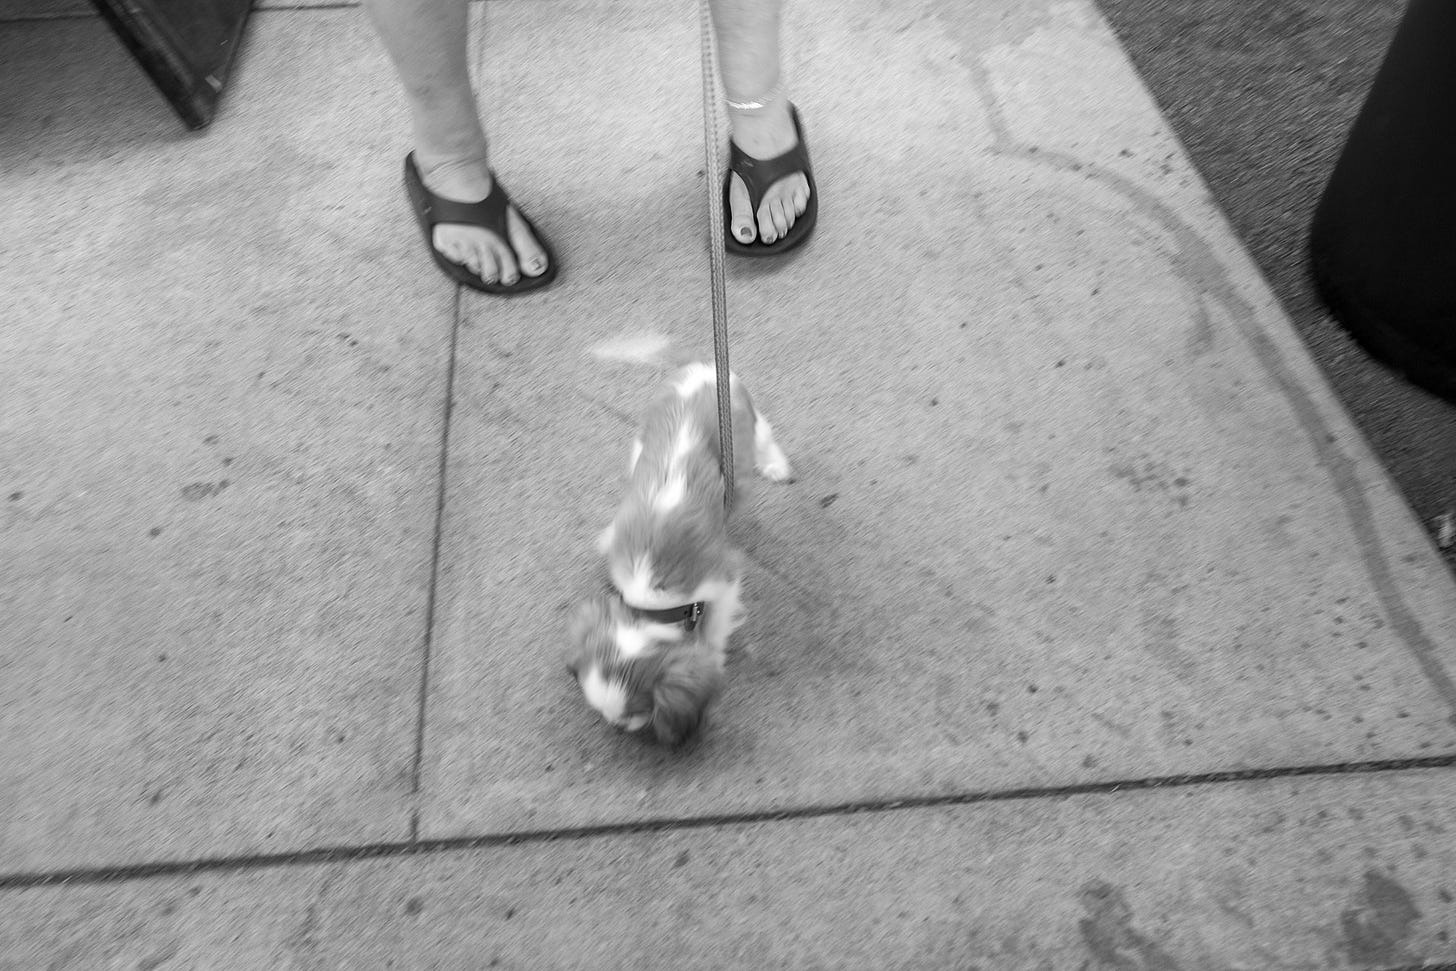
This is the first of three passes, all designed to go quickly, minimize decision making effort, and feel lightweight. I’ve found three passes to be manageable and momentum generating. This first culling step usually takes me about 10 minutes.
In addition to getting the junk out early, this step also calibrates my judgment. This first pass through the photos gives me a strong idea of what ‘good’ looks like for the batch, which informs the decision making in the next two passes.
This step ends with deleting all the one star photos. No sense in taking up more hard drive space than necessary. I’m left with a slightly reduced (but still large) set of two-star photos, all of which are usable.
Step 3: Pick and catalog memories
Now it’s time for the second pass. In this step I look for any photos I want to personally remember. The audience is me. These photos are meant to jog my memory when I revisit this event years down the road.
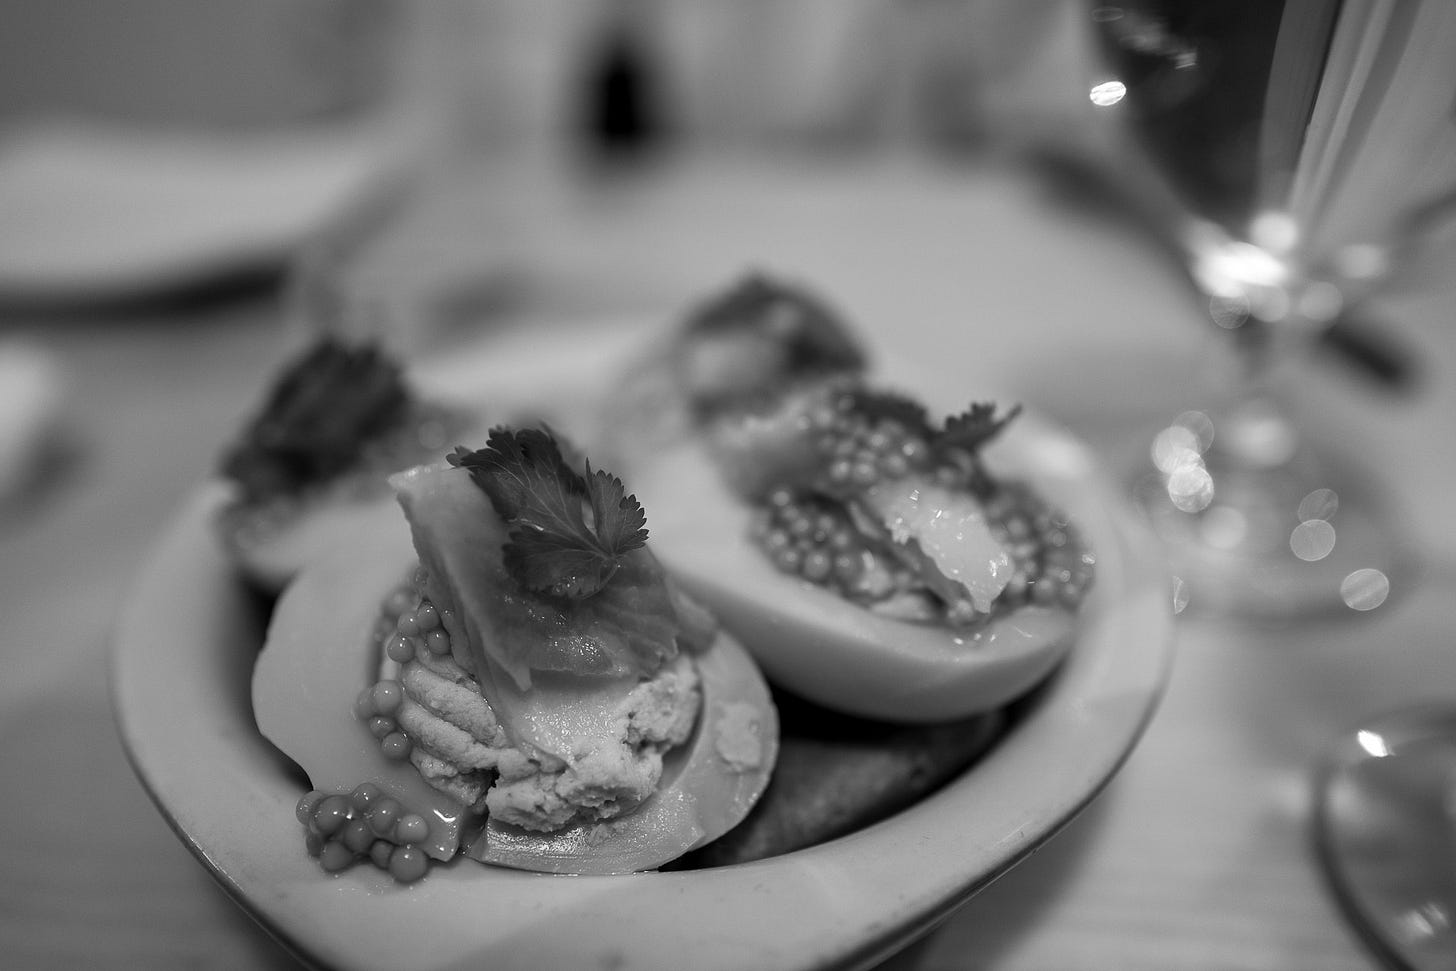
This is where all the photos of my meals go. Historical plaques, explanation signs on hikes, the weird quirks of the Airbnb, and other notable cues that I don’t want to forget, all make the cut.
These photos get a three star rating and a set of tags (who, what, where) to help me find them later.
This is also where I deduplicate. I often take multiple photos of a subject at a time, playing with the composition, angle, and timing. The best of the bunch gets a three star rating.
This step ends with deleting the two star photos. Yes, deleting them. I only want to remember the stuff worth remembering. I’m now left with a significantly reduced set of three star photos.
Getting through this step typically takes 20 minutes or less.
I’ll repeat steps 1-3 for each day of the event. Once I have all the three star photos for the all days of the event, I’ll proceed to step 4.
Step 4: Polish for the public
It’s time for the last pass where I go through all the three star photos with an eye for sharing with others. These photos will be public, and the audience is my loved ones.
Less is more. I only want to select the most captivating and expressive photos that tell the story of what happened. One photo overlooking the coast from the top of the hike can stand in for the seven three star photos I took along the way that remind me of how steep the hike was.
Since I’m pretty familiar with all the photos by this point, I already have a good sense of which photos will be eligible for sharing.
This is also the step where I actually edit my photos. Since photo editing is often time intensive, I only want to do this work for the best, and this is the step where I identify those precious few.
Since I exclusively shoot in black and white, my editing process is deliberately simple and straightforward. I mainly recompose through cropping, playing with shadows, and amplifying contrast.
I typically spend no more than five minutes editing a photo. Depending on the number of public photos I select, this step can take anywhere from 30 minutes to an hour. The dopamine hits at this stage are abundant.
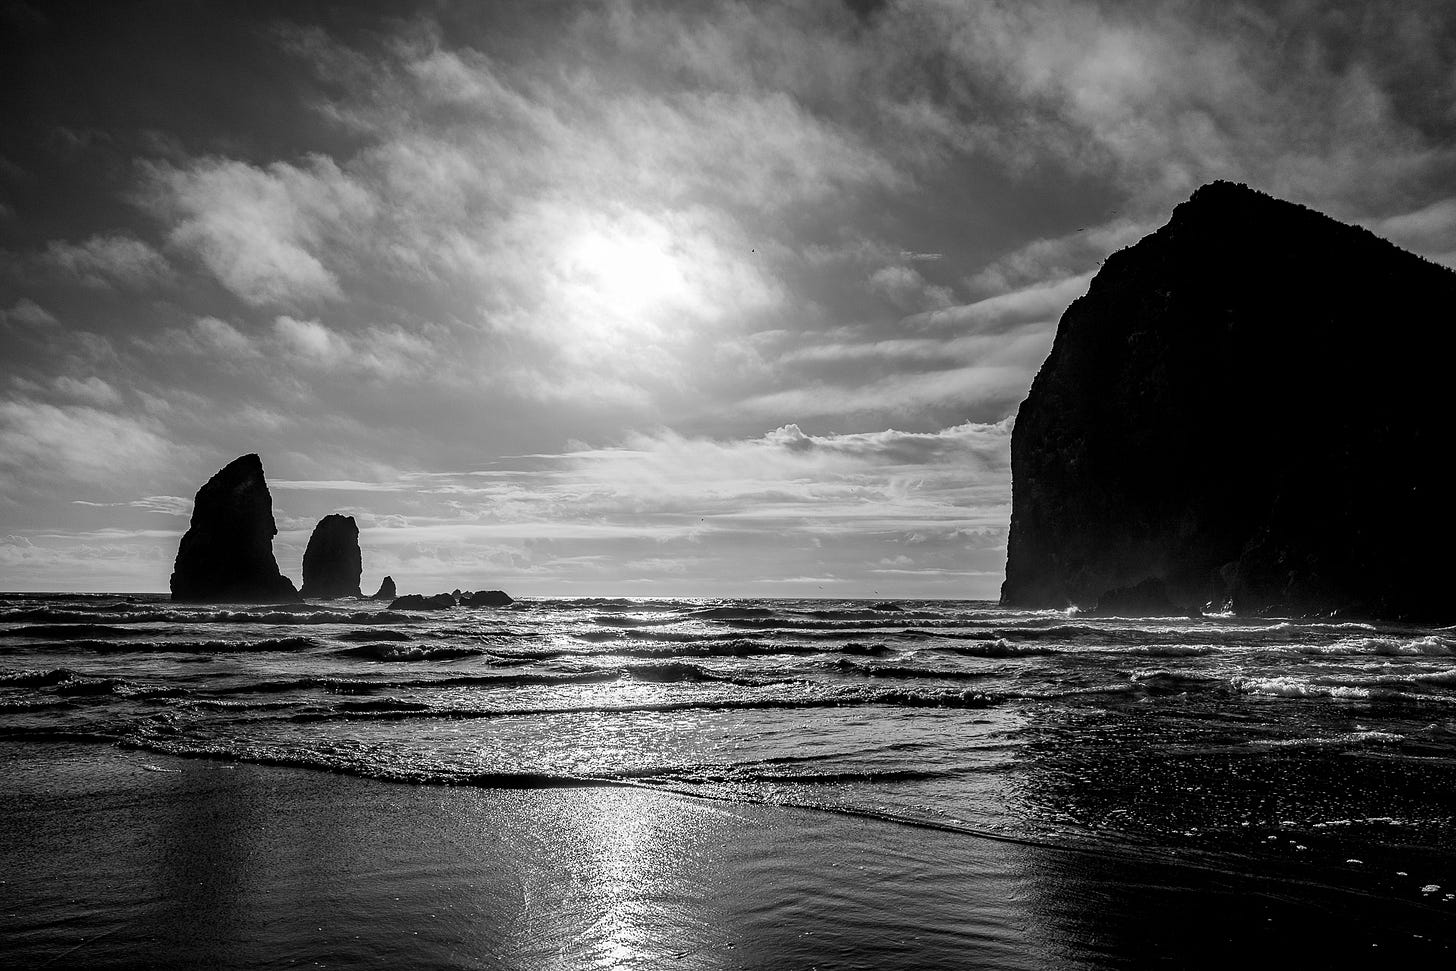
Once I’ve finished editing a photo it gets four stars. Only a small percentage of photos make the leap to four stars.
Step 5: Share
The last step in the process is the most important. It’s time to share the four star photos with others.
Nothing beats the feeling of someone you care about genuinely thanking you capturing a great moment they were a part of, or for sharing an experience through a tight set of well crafted images.
Moments like these are why I got into photography in the first place.
Bonus step: Award a 5 star rating
As a bonus, I like to take one tiny extra step and ask myself, if only one photo can be on the cover of a magazine for the event which would it be?
The photo that meets that criteria gets the coveted five star rating. It’s really nice to have an exclusive collection of five star photos that you can easily glance through to remember what you’ve been up to over the past few months.
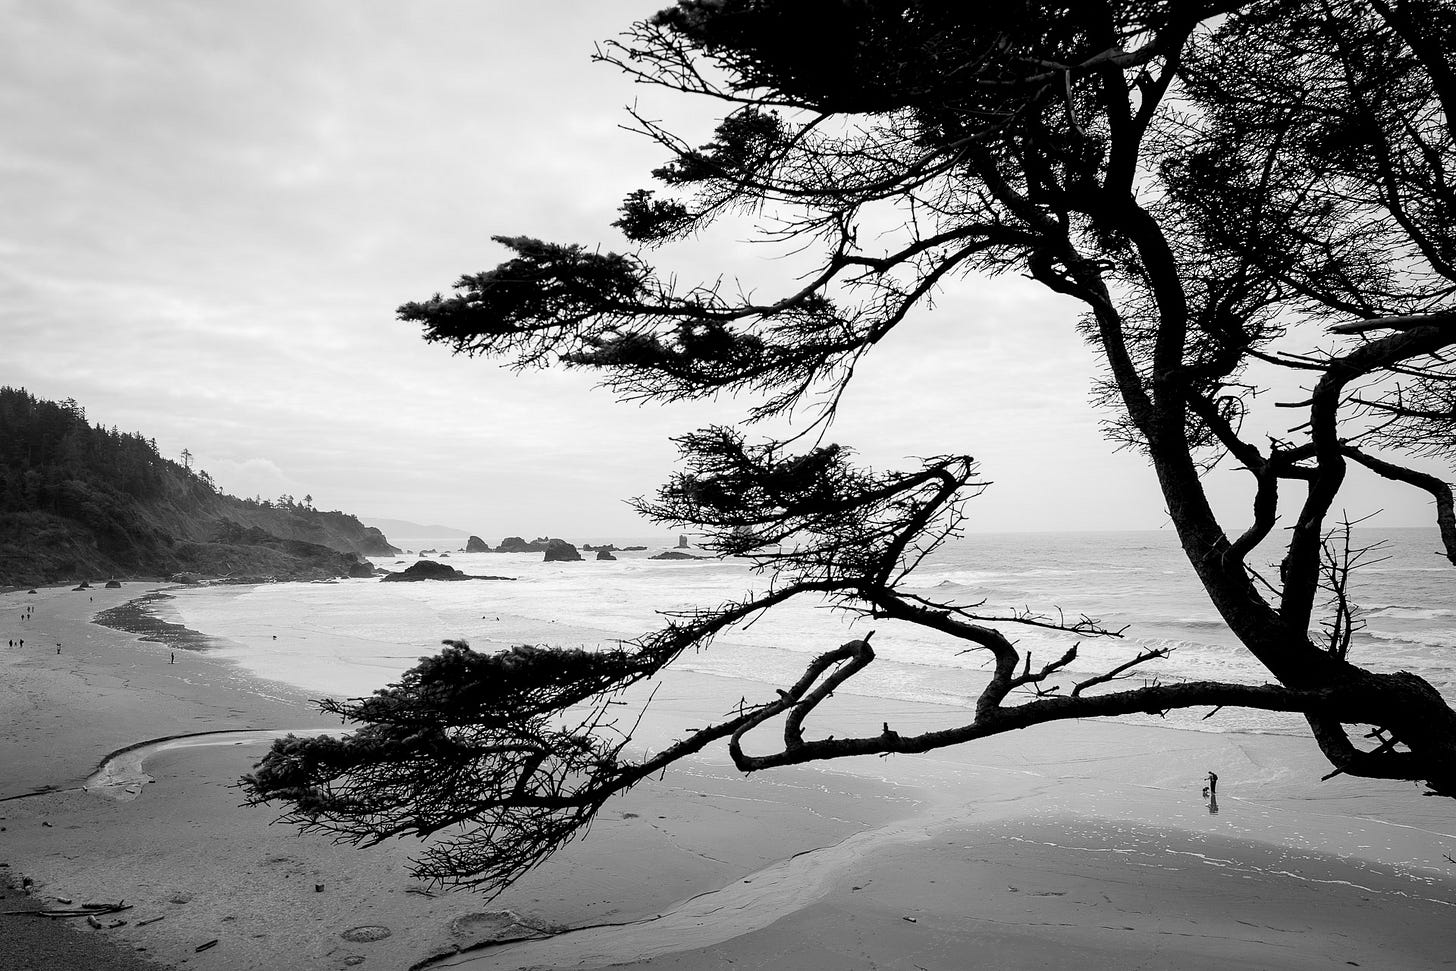
I’m now left with a large set of three star photos for me, a much smaller set of four star photos for everyone else, and tiny sliver of five star photos that make up my best work.
Each step along the way took less than an hour (often 30 minutes or less), and the use of star ratings allows me to easily pick up where I left off if I have to step away.
Conclusion
Documenting and sharing moments from a life well-lived was the reason I took up photography.
It took me years to realize that the self-imposed bureaucracy of photo editing had snuffed out that spark and led me to leave my camera at home more times than I care to admit.
My hope is that this hard-earned workflow helps you dust off your camera, open your photo editing software, and get back to the stuff that matters most: creating abundant memories to share with loved ones.
I’m all about optimizing life through steady refinement, and I’ll continue to share what I learn in this newsletter. If you’ve received value from this post, please be sure to like and subscribe.


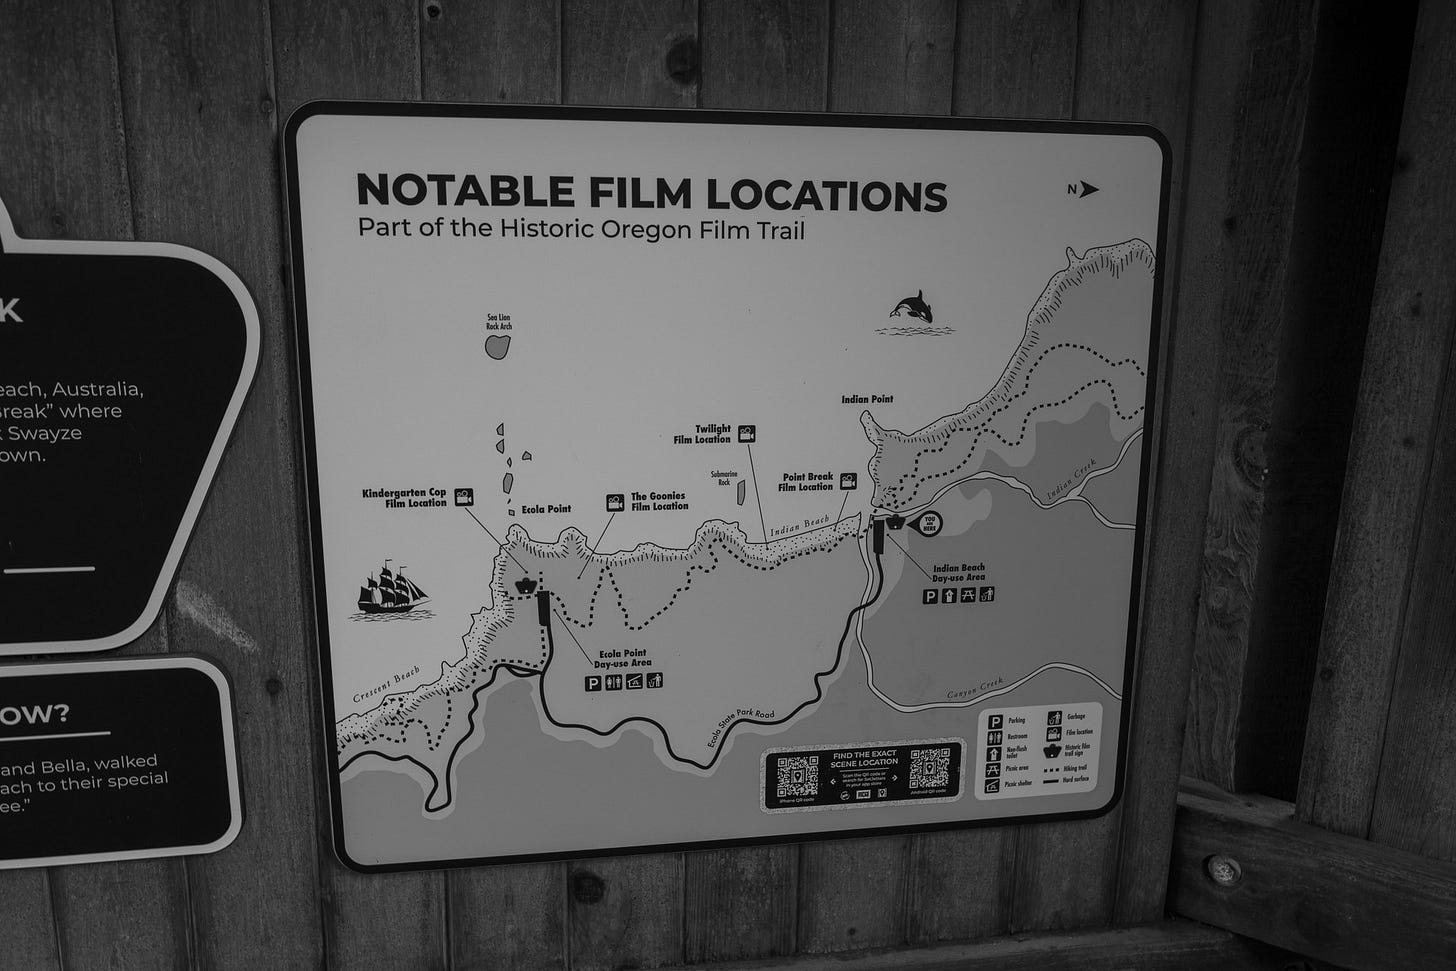
Thanks 'Fis! I hope the workflow helps you out. Let me know how it goes :)
…practical and useful advice…just shot about 600 photos for a gala and will give this method a pass…great photos man!…